
Mastering injection mold design in 2025 isn’t just a skill—it’s a necessity. With technology evolving rapidly, the industry demands precision and innovation like never before. I’ve seen how a structured approach can transform complex designs into efficient, high-quality molds. It saves time, reduces errors, and ensures products meet modern standards. Ready to dive in?
Key Takeaways
- Know what the product needs to do. Decide its size and purpose to prevent expensive errors.
- Pick the best material for strength, fit, and price. Think about using green materials to attract eco-friendly buyers.
- Use smart tool design rules. Plan the mold well, skip tricky shapes, and make designs simple for easier making.
Understand Product Requirements
Understanding the product requirements is the first step in creating a successful injection mold design. Trust me, skipping this step can lead to costly mistakes later. Let’s break it down.
Define the purpose and functionality of the product.
Start by asking, “What is this product supposed to do?” Every design decision stems from this question. For example, if you’re designing a part for a medical device, it needs to meet strict safety and performance standards. On the other hand, a toy might prioritize aesthetics and durability. Knowing the purpose helps you focus on what matters most.
Identify dimensional, aesthetic, and tolerance requirements.
Next, get specific about the details. What size should the product be? Does it need a smooth finish or a textured surface? How much variation is acceptable in its dimensions? These factors directly impact the mold design. I always recommend creating a detailed specification sheet. It’s like a roadmap that keeps you on track.
Consider end-user needs and industry standards.
Finally, think about who will use the product and where it will be used. Will it face extreme temperatures or heavy wear and tear? Also, don’t forget to check industry standards. Meeting these ensures your product is safe, reliable, and market-ready. I’ve found that balancing user needs with compliance requirements is key to a successful design.
Tip: Always revisit these requirements during the design process. It’s easy to lose sight of them as you dive into the technical details.
Select the Right Material
Choosing the right material is like laying the foundation for a house. It’s one of the most critical steps in injection mold design. Let me walk you through how I approach this.
Evaluate material properties for durability and performance.
First, I always look at what the product needs to endure. Will it face high temperatures, heavy loads, or constant wear and tear? For example, if I’m designing a part for an automotive engine, I’ll pick a material that can handle heat and stress. On the other hand, a lightweight plastic might work for a consumer gadget. I recommend creating a checklist of material properties like strength, flexibility, and resistance to chemicals. It helps narrow down the options quickly.
Match material selection to product requirements and compatibility.
Next, I match the material to the product’s specific needs. If the product has moving parts, I’ll choose something with low friction. If it’s a food container, the material must be safe and non-toxic. Compatibility with the injection mold design is also crucial. Some materials flow better during molding, which reduces defects. I’ve learned that testing a few materials early can save a lot of headaches later.
Consider cost-effectiveness and environmental impact.
Finally, I balance performance with cost. High-quality materials are great, but they’re not always budget-friendly. I also think about sustainability. Can I use recycled materials? Are there eco-friendly options? These choices not only help the planet but also appeal to environmentally conscious customers. It’s a win-win.
Tip: Always consult with material suppliers. They often have valuable insights and can recommend the best options for your project.
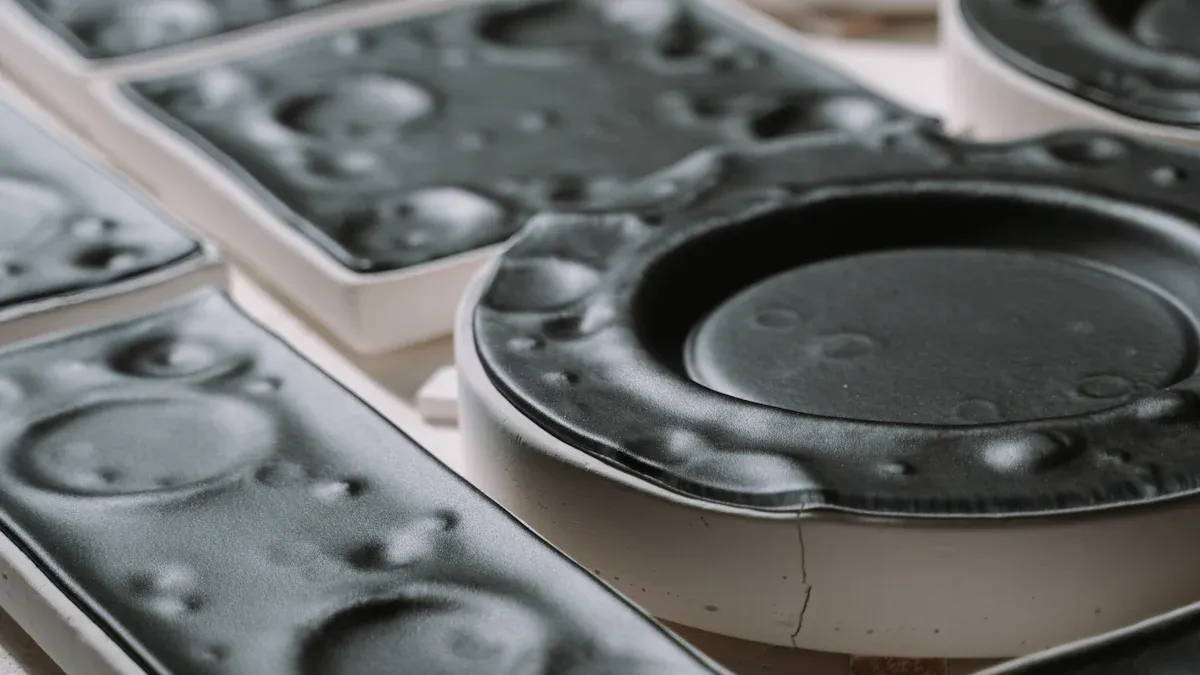
Apply Tool Design Principles
When it comes to injection mold design, applying the right tool design principles can make all the difference. Let me share how I approach this step.
Focus on mold structure, durability, and manufacturability.
I always start by thinking about the mold’s structure. A strong and durable mold ensures it can handle repeated use without breaking down. But durability isn’t enough. The mold also needs to be manufacturable. If the design is too complex, it can lead to higher costs and longer production times. I’ve learned to strike a balance between strength and simplicity. For example, I avoid unnecessary features that complicate the mold without adding value.
Incorporate draft angles, radii, and fillets to improve moldability.
Draft angles are a game-changer. They make it easier to remove the part from the mold without damaging it. I usually add a slight angle to vertical surfaces to prevent sticking. Radii and fillets are just as important. Sharp corners can cause stress points, so I round them off to improve the flow of material. These small adjustments can significantly enhance the mold’s performance.
Avoid undercuts and simplify the mold design where possible.
Undercuts are tricky. They can make the mold harder to produce and increase costs. Whenever I can, I design parts that don’t require undercuts. If they’re unavoidable, I look for ways to minimize their impact. Simplifying the mold design not only saves time but also reduces the chances of errors during production.
Tip: Always review your design with a fresh perspective. Sometimes, the simplest solutions are the most effective.
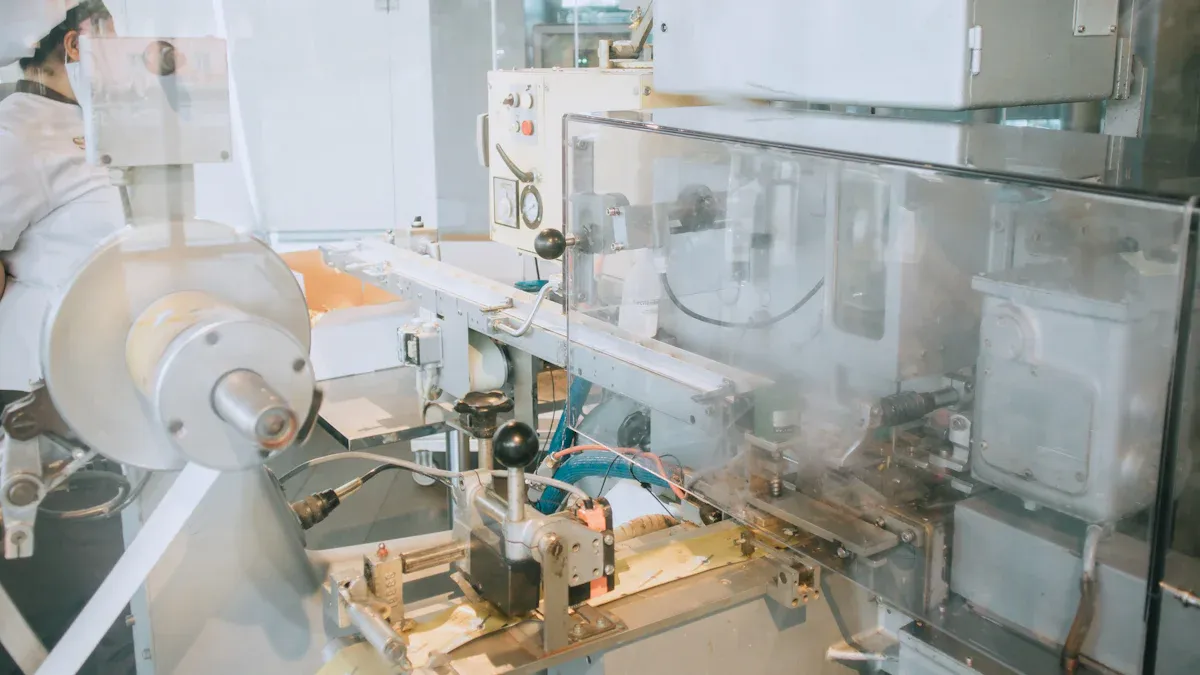
Conduct Simulation and Testing
Simulation and testing are where the magic happens. This step helps me catch potential issues before they become costly mistakes. Let me show you how I approach it.
Use CAD and simulation software to predict performance.
I always start with CAD and simulation tools. These programs let me visualize how the mold will perform under real-world conditions. For example, I can see how the material flows through the mold or if there are areas where the part might stick. It’s like having a crystal ball for injection mold design. I’ve found that investing time in simulations saves me from headaches later.
Tip: Use software with built-in defect prediction features. It’s a lifesaver when you’re working on tight deadlines.
Identify potential defects and optimize the design.
Once I run the simulations, I look for red flags. Common issues like warping, sink marks, or uneven filling pop up during this stage. When I spot a problem, I tweak the design to fix it. Sometimes, it’s as simple as adjusting the gate location or adding a cooling channel. Other times, it takes a few iterations. Either way, this step ensures the final mold works flawlessly.
Validate the design through prototyping and testing.
After optimizing the design, I move on to prototyping. I usually create a 3D-printed version of the mold or a small test run using the actual material. This hands-on testing confirms whether the design holds up in the real world. If something doesn’t work, I go back and refine it. It’s a cycle of testing and improving until I’m confident the mold is production-ready.
Note: Don’t skip prototyping. It’s the best way to catch issues that simulations might miss.
Optimize Gate and Runner Design

When it comes to injection mold design, the gate and runner system plays a huge role in ensuring the final product turns out perfect. Let me walk you through how I handle this step.
Choose the appropriate gate type and location for uniform filling.
The gate is where the molten material enters the mold cavity. Choosing the right type and location is critical. I always ask myself, “Where will the material flow most evenly?” For example, placing the gate in the center of a symmetrical part often works best. But for irregular shapes, I might need to experiment. I also consider the gate type—whether it’s a pin gate, edge gate, or something else. Each has its strengths depending on the product’s design.
Tip: Always test different gate placements during simulations. It’s the easiest way to spot potential issues early.
Design runners to ensure efficient material flow and minimize waste.
Runners guide the material from the injection point to the gates. I keep them as short and direct as possible to reduce waste. A well-designed runner system ensures the material flows smoothly without cooling too quickly. I’ve found that using round or trapezoidal runners often improves efficiency. It’s all about balancing flow and minimizing scrap.
Balance flow paths to avoid defects like warping or sink marks.
Uneven flow paths can cause defects like warping or sink marks. To prevent this, I make sure the material reaches all parts of the mold at the same time. I use flow balancing techniques, like adjusting runner sizes or adding flow restrictors. These tweaks might seem small, but they make a big difference in the final product’s quality.
Note: Don’t forget to double-check the flow balance during testing. It’s easier to fix issues now than during production.
Design an Efficient Cooling System
Efficient cooling is the backbone of a successful injection mold design. Without it, you risk longer cycle times and inconsistent part quality. Let me share how I approach this step.
Plan cooling channels for uniform temperature control.
I always start by mapping out the cooling channels. These channels need to distribute temperature evenly across the mold. Uneven cooling can lead to defects like warping or shrinkage. I usually place the channels as close to the mold cavity as possible without compromising its strength. For complex designs, I rely on simulation tools to visualize heat distribution. It’s like having a heat map that guides my decisions.
Tip: Use baffles or inserts to reach areas that are hard to cool. They’re lifesavers for intricate molds.
Reduce cycle times without compromising part quality.
Shorter cycle times mean faster production, but you can’t let quality slip. I focus on optimizing the cooling system to remove heat quickly and evenly. Sometimes, tweaking the channel diameter or spacing does the trick. Other times, I experiment with different coolant flow rates. It’s all about finding that sweet spot where efficiency meets quality.
Use advanced cooling techniques for complex mold designs.
For challenging projects, I turn to advanced methods like conformal cooling. This technique uses 3D-printed channels that follow the mold’s contours. It’s a game-changer for intricate designs. I’ve also tried using high-conductivity materials for inserts. They speed up heat transfer and improve cooling efficiency. These innovations keep me ahead in the game.
Note: Advanced techniques might cost more upfront, but they pay off in the long run with better performance and reduced defects.
Implement Quality Control Measures
Quality control is the backbone of any successful injection mold design process. Without it, even the best designs can fail. Let me share how I ensure every mold and part meets the highest standards.
Establish inspection criteria for molds and parts.
First, I set clear inspection criteria. This step helps me know exactly what to look for during quality checks. For molds, I focus on dimensions, surface finish, and structural integrity. For parts, I check for defects like warping, sink marks, or uneven surfaces. I usually create a checklist to keep everything organized. It’s like having a roadmap that ensures nothing gets overlooked.
Tip: Always involve your team when setting these criteria. Different perspectives can catch things you might miss.
Use precision tools to measure tolerances and ensure accuracy.
Next, I rely on precision tools to measure tolerances. Tools like calipers, micrometers, and coordinate measuring machines (CMM) are my go-to choices. They help me confirm that every part matches the design specifications. I’ve learned that even a tiny deviation can cause big problems later. That’s why I double-check critical dimensions during every inspection.
Monitor production to maintain consistent quality.
Finally, I keep a close eye on production. Regular monitoring helps me spot issues before they escalate. I often use statistical process control (SPC) to track trends and identify potential problems. If I notice something off, I pause production and fix it right away. This proactive approach saves time and ensures consistent quality.
Note: Quality control isn’t just about catching mistakes. It’s about building trust with your customers by delivering reliable products every time.
Adjust Process Parameters
Fine-tuning process parameters is like adjusting the dials on a radio. You need to find the perfect settings to get the best results. Let me show you how I approach this step.
Fine-tune injection speed, pressure, and temperature.
I always start by tweaking the injection speed, pressure, and temperature. These three factors control how the material flows into the mold. If the speed is too high, it can cause defects like flash. Too low, and the material might not fill the mold completely. I adjust the pressure to ensure the material packs tightly into every corner. Temperature is just as important. If it’s too hot, the material can degrade. Too cold, and it won’t flow properly. I usually test different combinations to find the sweet spot.
Tip: Keep a log of your settings. It’s a lifesaver when you need to replicate results later.
Optimize cycle times for efficiency and cost-effectiveness.
Shorter cycle times mean faster production, but rushing can hurt quality. I focus on balancing speed with precision. For example, I might reduce cooling time slightly if the part quality stays consistent. Every second saved adds up over a large production run. I’ve found that small tweaks can make a big difference in cost-effectiveness.
Address issues like warping, shrinkage, or surface defects.
Defects like warping or shrinkage can ruin a part. When I spot these issues, I go back to the process parameters. Sometimes, increasing the packing pressure helps. Other times, adjusting the cooling rate solves the problem. Surface defects often mean the material isn’t flowing evenly. I tweak the injection speed or gate location to fix it. It’s all about trial and error until the parts come out perfect.
Note: Don’t be afraid to experiment. Every mold behaves differently, so what works for one might not work for another.
Collaborate with Cross-Functional Teams
Collaboration is the secret sauce for successful injection mold design. I’ve learned that working with the right people can make or break a project. Let me explain how I approach this.
Work with engineers, designers, and manufacturers to align goals.
I always start by bringing everyone to the table—engineers, designers, and manufacturers. Each person has a unique perspective. Engineers focus on functionality, designers care about aesthetics, and manufacturers think about production efficiency. When we align our goals early, it saves time and avoids misunderstandings. For example, I once worked on a project where the designer wanted a sleek look, but the manufacturer flagged it as too complex. By discussing it together, we found a solution that worked for everyone.
Incorporate feedback from all stakeholders to refine the design.
Feedback is gold. I make it a point to gather input from everyone involved. Sometimes, a small suggestion from a manufacturer can improve the mold’s durability. Or a designer might notice a detail that enhances the product’s usability. I treat feedback as a tool to refine the design. It’s not about who’s right—it’s about making the best product possible.
Tip: Use collaborative tools like shared CAD files or project management software. They keep everyone on the same page.
Ensure alignment on project timelines and deliverables.
Timelines can get tricky if everyone isn’t aligned. I always set clear deadlines and deliverables upfront. This keeps the project moving smoothly. For instance, I’ll confirm when the prototype needs to be ready or when the final mold should go into production. Regular check-ins help me track progress and address any delays before they snowball.
Collaboration isn’t just about working together—it’s about building trust. When everyone feels heard, the results speak for themselves.
Validate and Prepare for Production
Conduct final testing and validation of the mold.
Before giving the green light for production, I always run final tests on the mold. This step ensures everything works as expected. I start by inspecting the mold for any visible flaws. Then, I test it under real production conditions. For example, I check how the material flows and whether the parts come out without defects. If I spot an issue, I tweak the mold design or process settings. This step might feel repetitive, but it’s worth it. It saves time and money down the road.
Tip: Keep a checklist handy during testing. It helps ensure you don’t miss any critical details.
Ensure readiness for mass production and scalability.
Once the mold passes all tests, I shift my focus to production readiness. I ask myself, “Can this mold handle large-scale production?” I evaluate the mold’s durability and the efficiency of the process. If the cycle time is too long, I look for ways to optimize it. I also consider scalability. If demand increases, will the mold keep up? Addressing these questions now avoids headaches later.
Document the process for future reference and improvements.
Finally, I document everything. I record the mold design, process parameters, and any adjustments made along the way. This documentation acts like a guidebook for future projects. It also helps if issues arise during production. I’ve learned that detailed records save time and make troubleshooting easier. Plus, they’re a great resource for improving future injection mold design projects.
Note: Don’t underestimate the power of good documentation. It’s like leaving a trail of breadcrumbs for your future self.
Mastering injection mold design takes effort, but these 10 steps make it manageable. Each step builds on the last, creating a clear path to success. By following this process, you’ll improve efficiency, boost quality, and spark innovation in your projects.
Remember: Stay curious and keep up with industry trends. That’s how you stay ahead!
FAQ
What software should I use for injection mold design?
I recommend starting with CAD software like SolidWorks or AutoCAD. They’re user-friendly and packed with features for mold design.
Tip: Explore simulation tools like Moldflow for advanced defect prediction. It’s a game-changer for optimizing designs.
How do I choose the right material for my mold?
Focus on the product’s requirements. Consider durability, compatibility, and cost. For eco-friendly options, check out recycled or biodegradable materials.
Note: Always consult material suppliers for expert advice.
Can I skip prototyping if I’ve done simulations?
No, I wouldn’t skip it. Prototyping catches real-world issues that simulations might miss. It’s an essential step for ensuring a flawless design.
Emoji Reminder:
Post time: Mar-07-2025